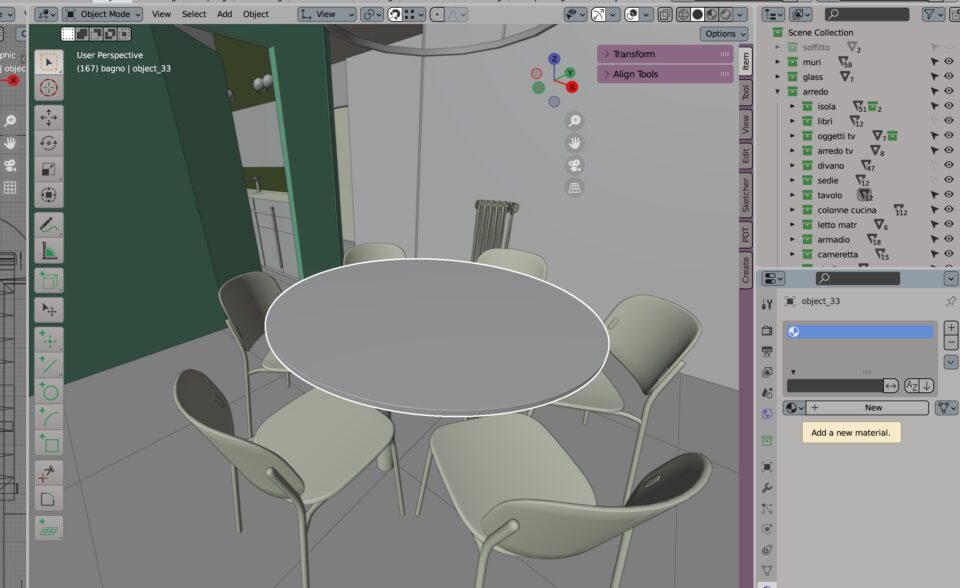
- create a new base material – if you don’t know how, read here
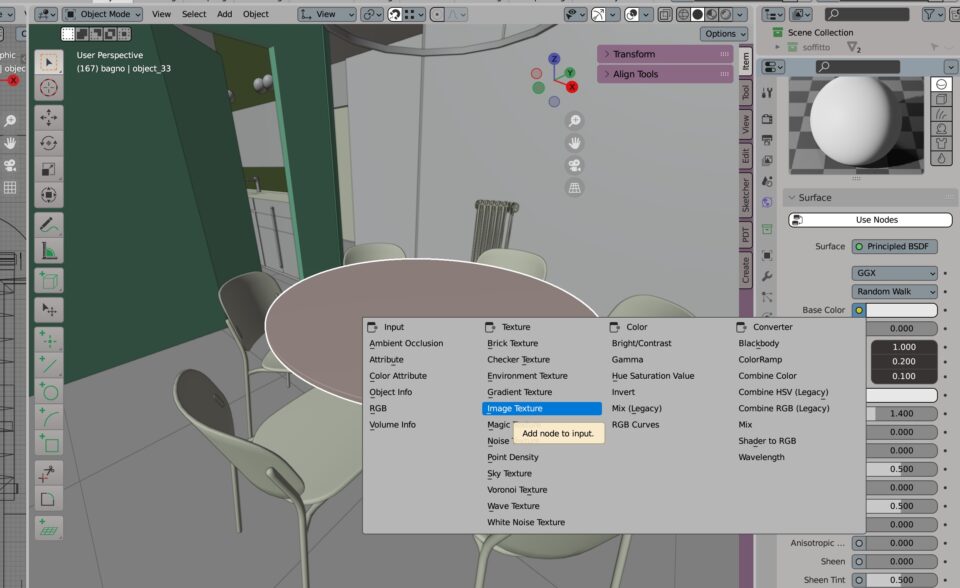
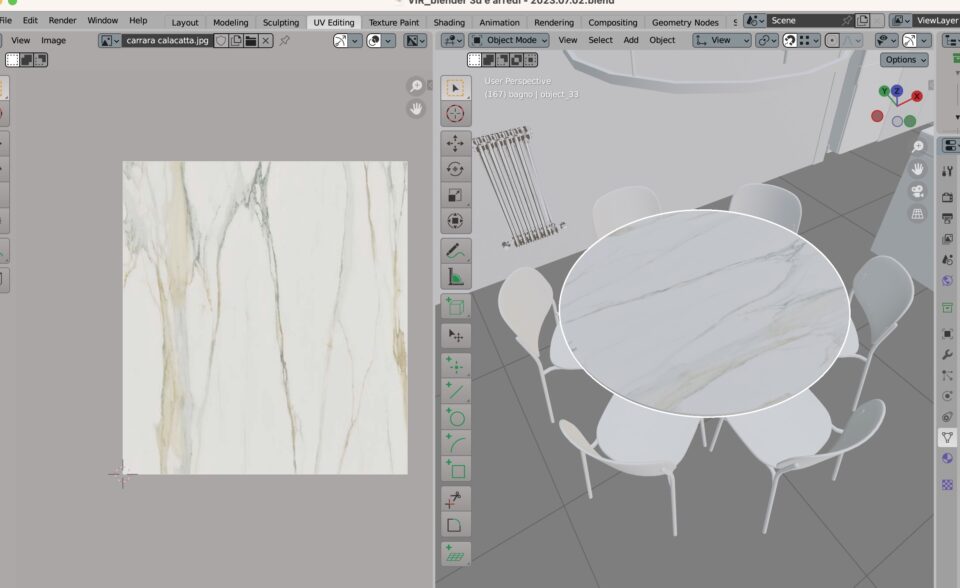
- among the base color options, choose the one for using an image
- upload the one you have saved from your computer
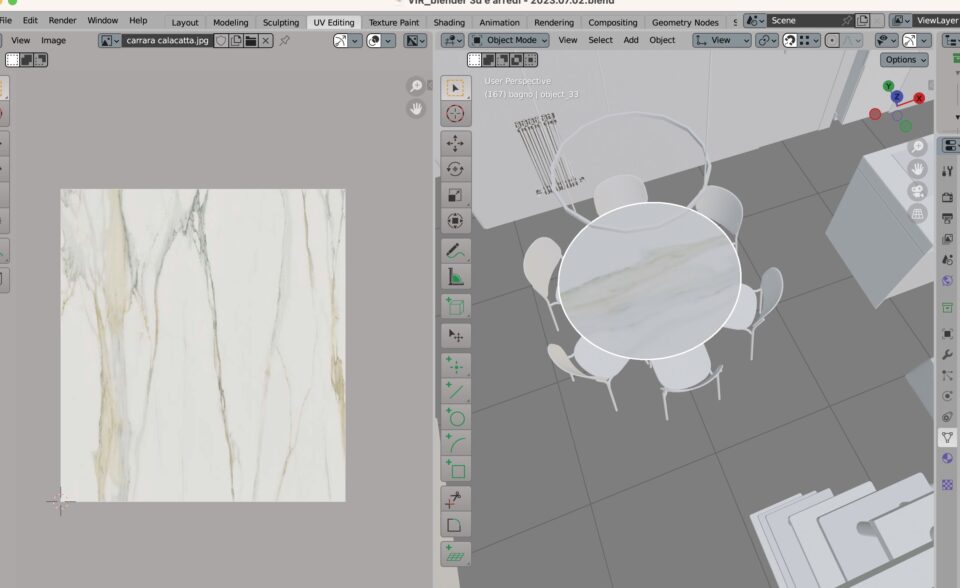
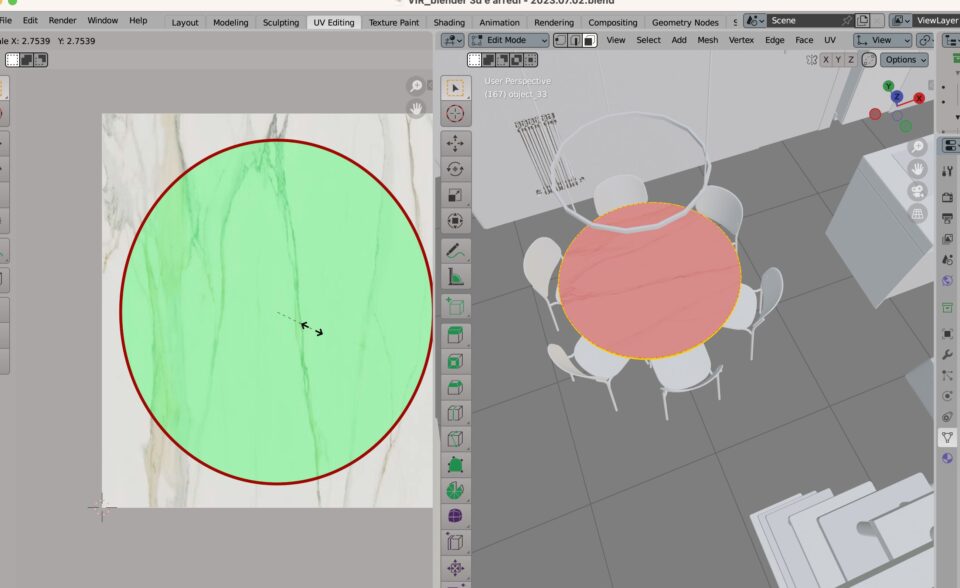
- to correct how big is the texture bigness respect than the object, or move the texture in the face, go into UV EDITING (in the top, after Layout, Modeling and sculpting)
- find your object and go into edit mode
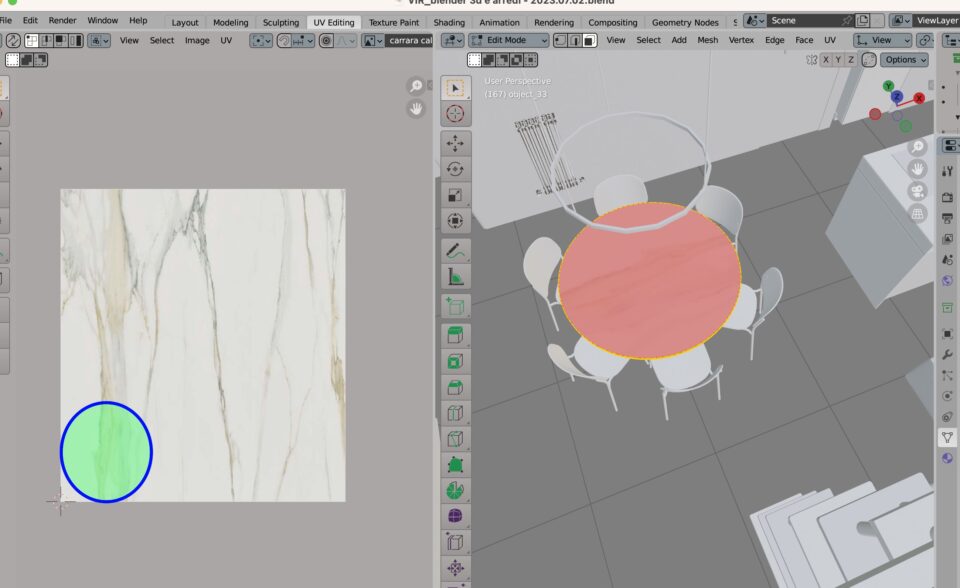
- In the right window, you will see your texture, in a flat way, and the shape of your object. By scaling, moving, rotating that shape, you will make transformations to the texture of the object!

Adjust the texture placement as a “box”
In the previous example, we applied a material to a narrow surface, so we didn’t care a lot about how the texture appears to other sides. Differently it is in the case of more big, complex or thick objects; not perfect cubes but volumes with 3 important lenghts. Let’s do another exercise in this sense.
- follow the 1st and 3rd steps
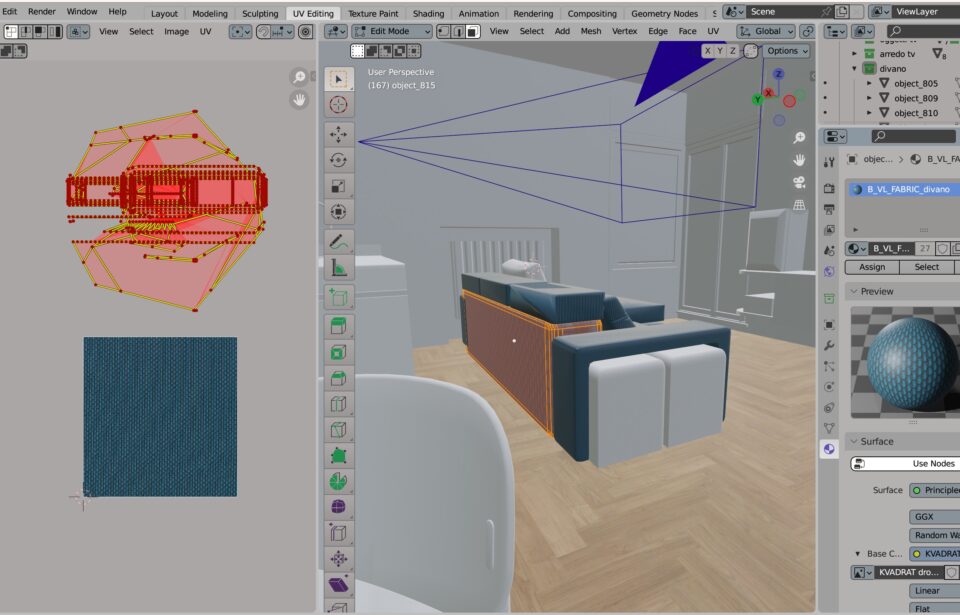
- go into UV editing and then EDIT MODE
- you will notice that your solid has a very strange UV map (see first image of the gallery), even if it is a parallelepiped with rounded angles
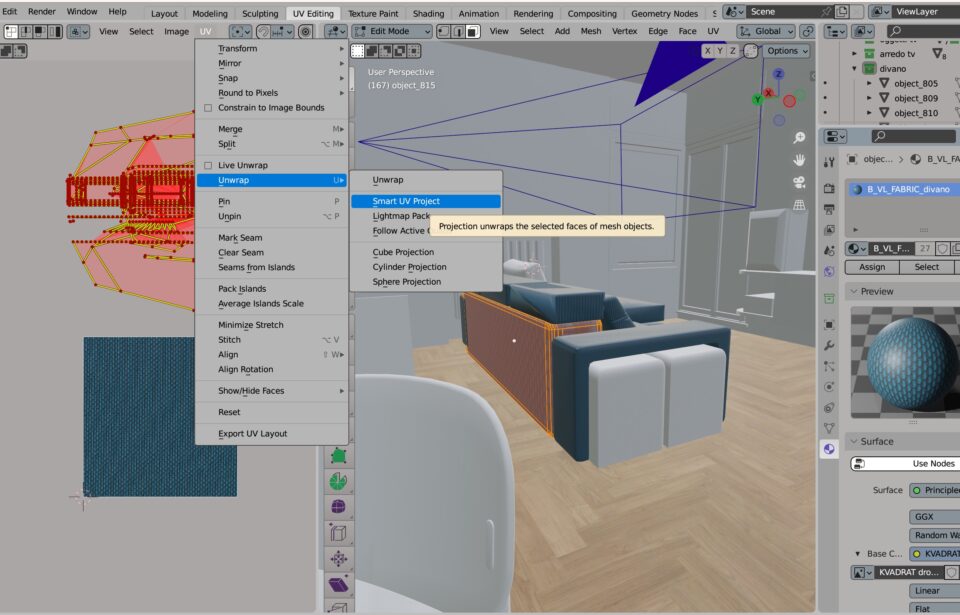
- go into UV options in the left window with the texture, then Unwrap and then click on SMART UV PROJECT
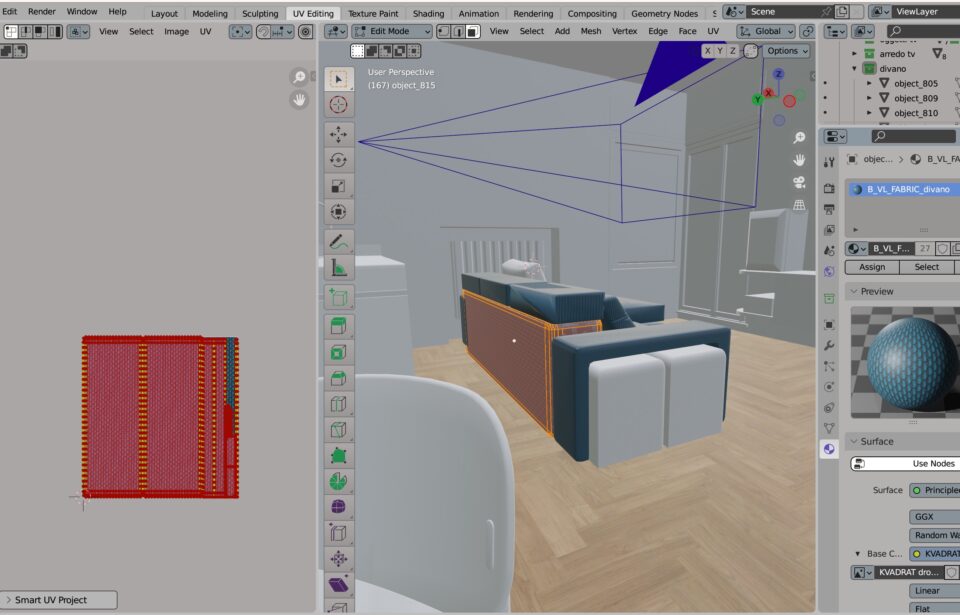
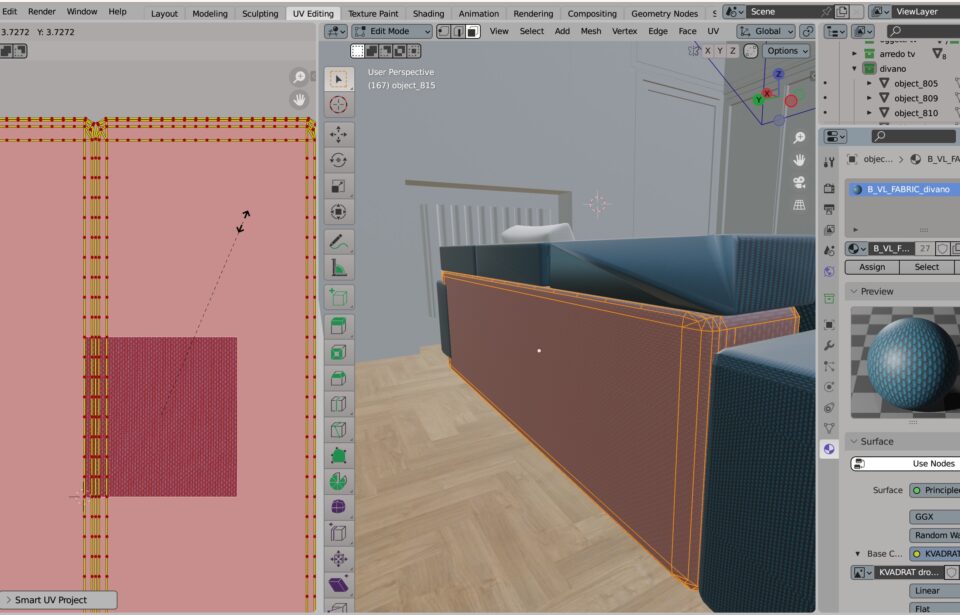
- the texture will be rationalised and you can better modify it, for example by scaling it (last image of the gallery)