A file like “name.hdr” (HDR-HDRI) is a very helpful tool to create the right atmosphere in our model when we are in a hurry. Background and light, and everything changes.

It applies the correct light, shadows and colors with realistic results, plus a 360 image on the background which could be helpful for example if you render an interior, and you want to see some context from the window. Let’s see how to add it to the scene.

Use hdr in shading viewport

  • download one HDR you like – there are tons available from the web; and some among standard folders of the app
  • in the right panel, click on the earth symbol
  • open the Surface label, and then click color
  • click on Environment texture and choose yours
  • to see it, render the view or click on Rendered display preview (as the sample in the image above)

See the hdr also in the render output

After you made all the steps above:

  • go into Shading Mode
  • from the viewport in the bottom, with the nodes of the materials, choose WORLD
  • add the Environment texture option, from the menu ADD and Texture
  • link the color of the Environment texture to the color of the Background
  • click on the OPEN button and search your hdri file
  • you can adjust the intensity of the light under the background panel, under “strength

Use hdr light – but no its background – in renders

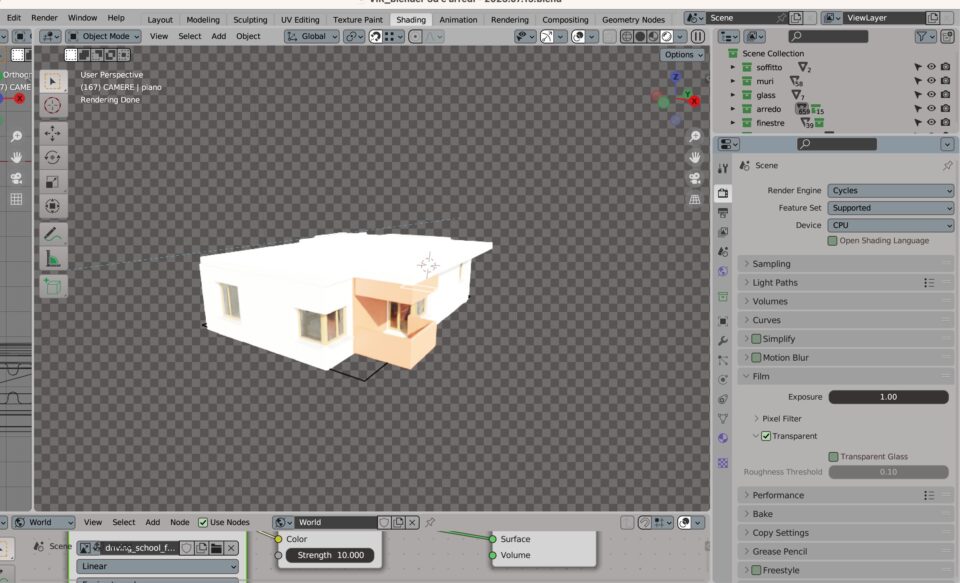
  • in the right panel, go into your rendering property (the second from the top)
  • you will find (for Cycles and for Eeve too) the category Film
  • check the transparent set
  • now you can apply the background you want. For example by working with Compositing (next tutorials 🙂 )

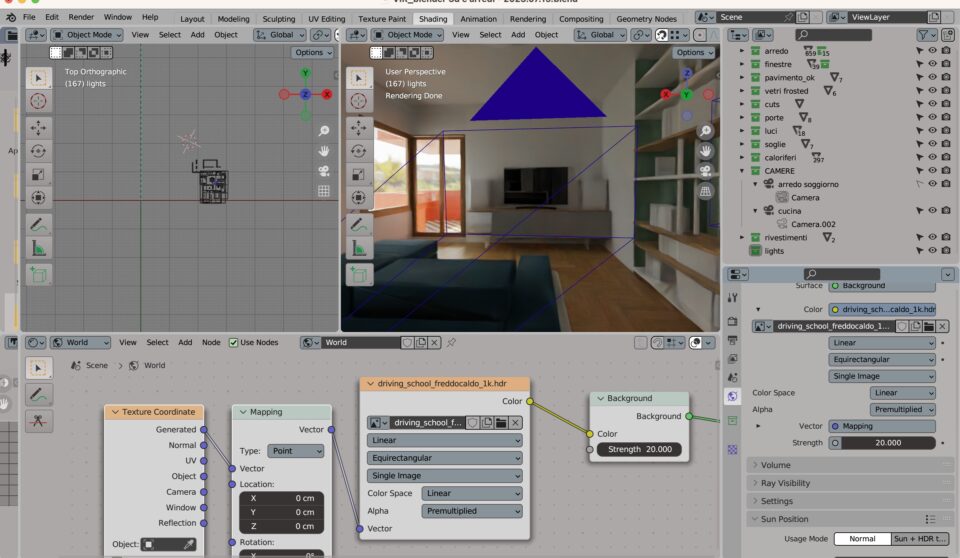
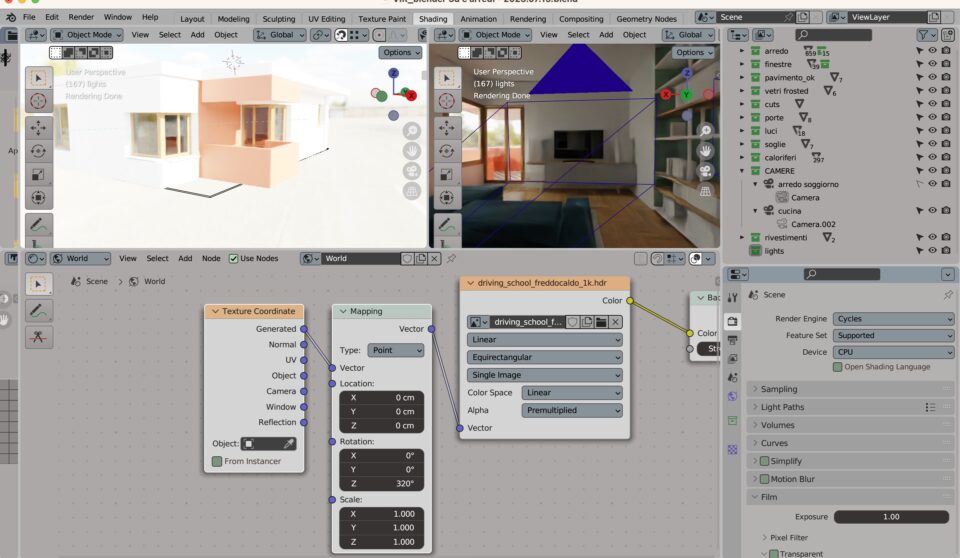
Adjust the light direction of a HDR

Maybe the sun rays are in the opposite side you need. Then let’s adjust them:

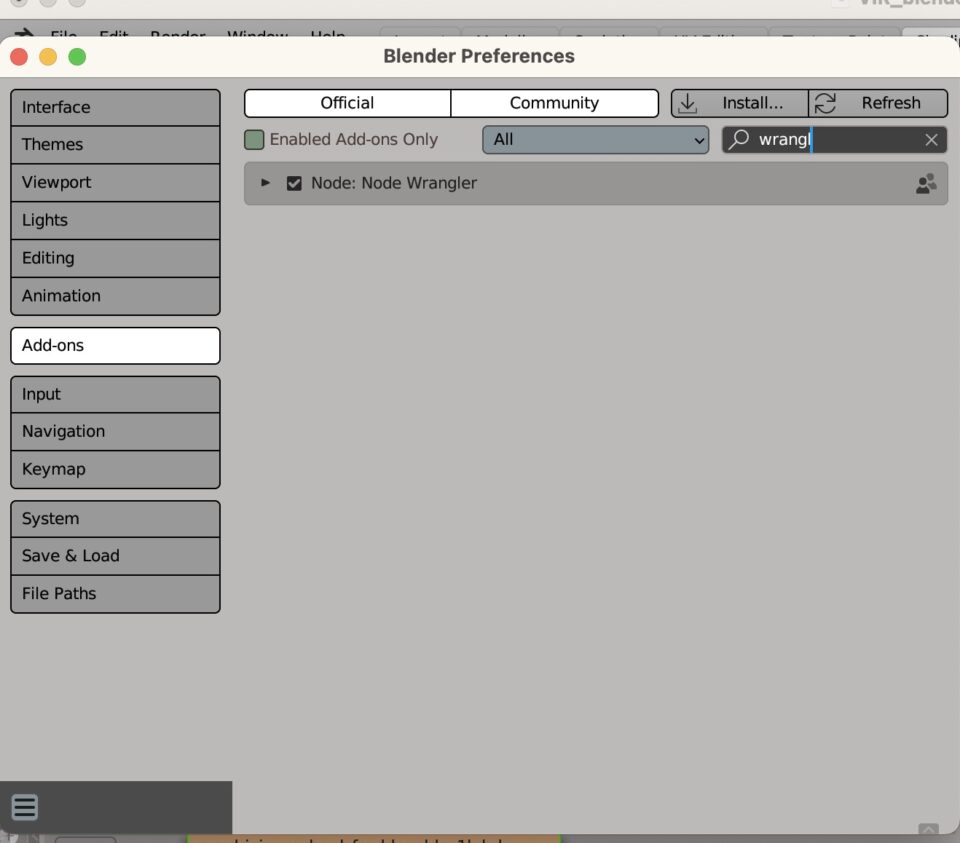
  • check if you have NODE WRANGLER activated in the addons panel
  • click CTRL+T
  • adjust the degree of rotation in Z, to fit the orientation you need!

That’s it!!