This is my favourite method to create a realistic light for architectural spaces: both interiors and exteriors. The use of HDRI, once set, is simple and gives you good results. Some of the tricks of this guide were made thanks to CG Arch, thank you!
Let’s go!
1. Get the HDRI file
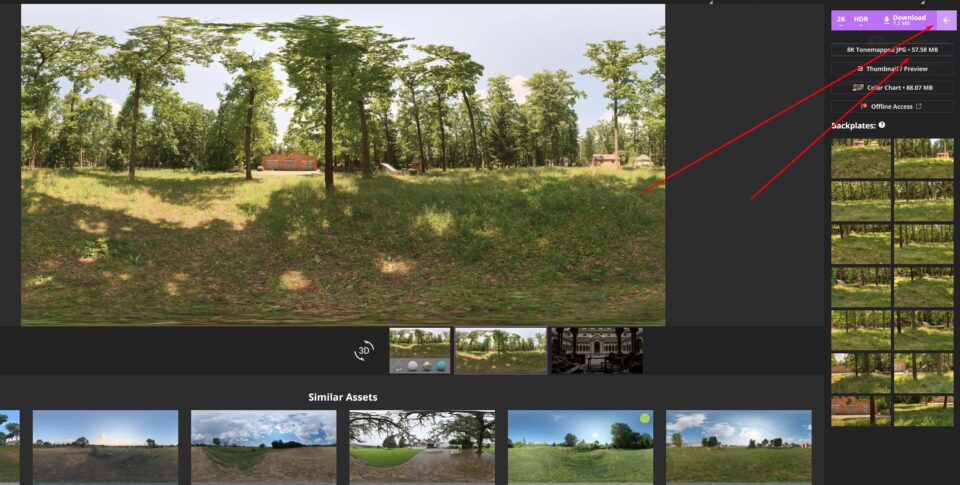
- first step: download your HDRI file, on the base of the light you need, the aesthetic perfect for your project. You can find several websites, I appreciated this one: Polyhaven
- to save a large amount of space, you can download the small size file. If you don’t need the HDRI also for its image background, you can end here this process
- if you need the background image, don’t download the bigger file, but to save space, download the jpeg file in high resolution
2. Set the HDRI file
- open your blender file
- go into shading
- in the bottom, select World instead of Object
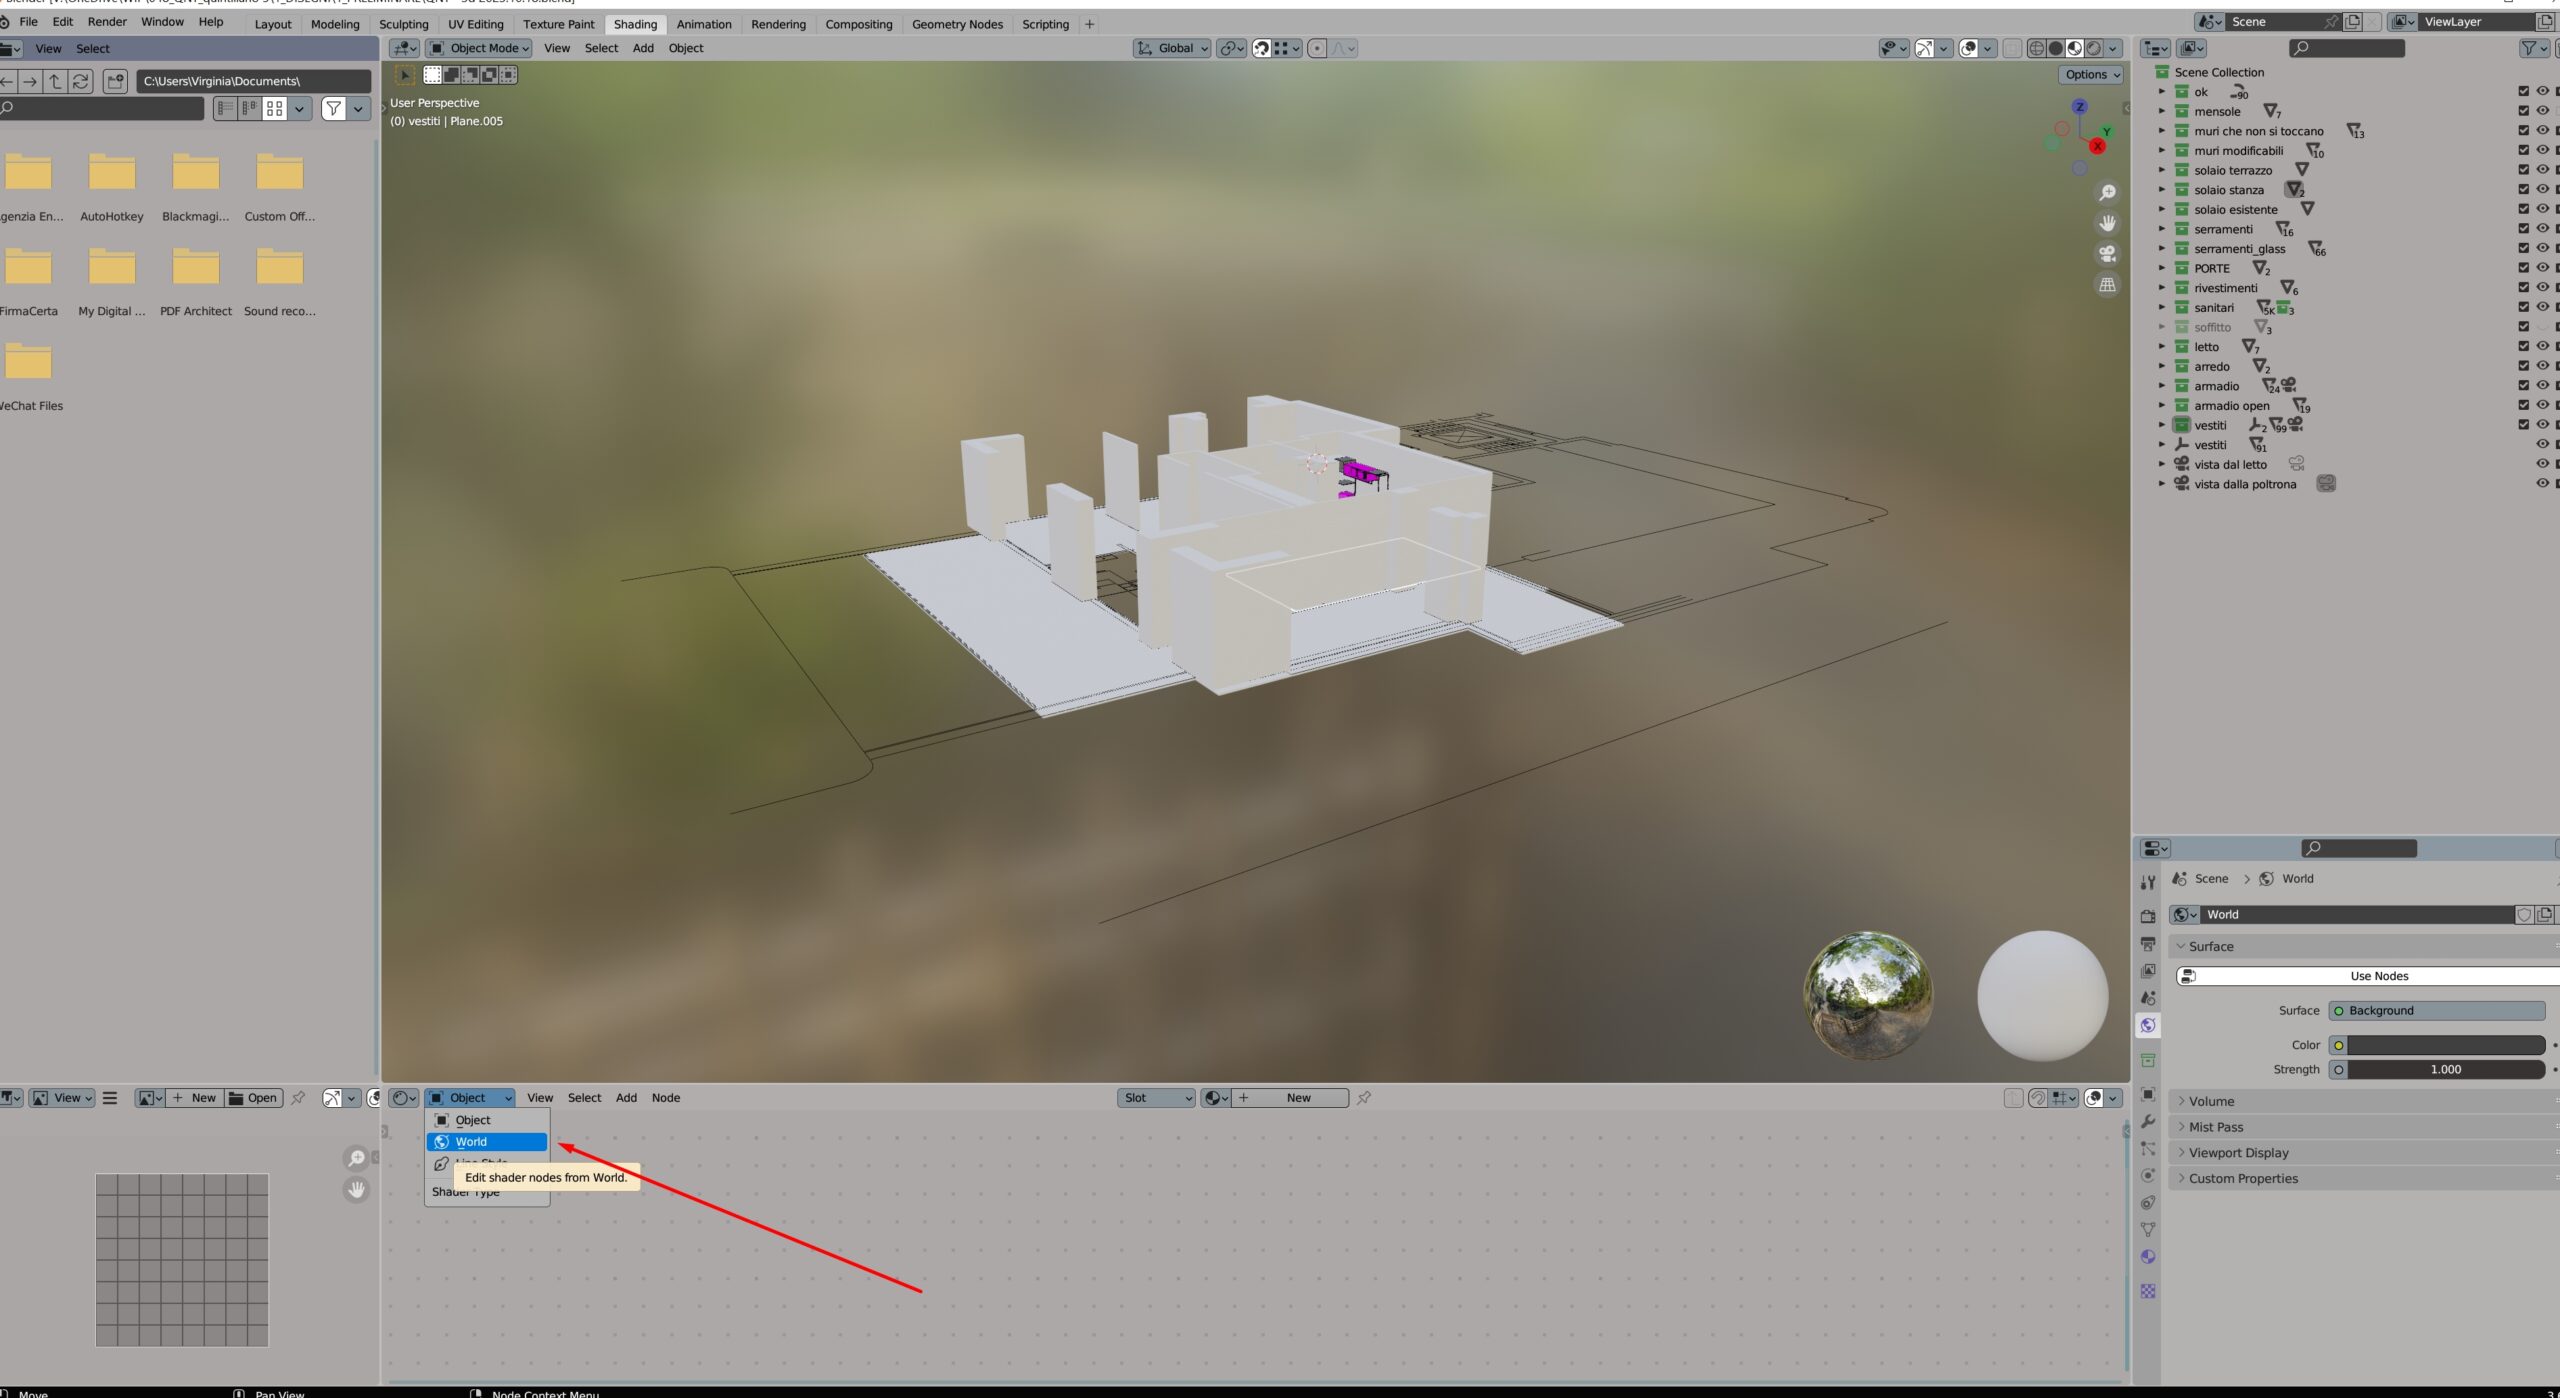
- you will have World Output and Background. Delete this last one for now
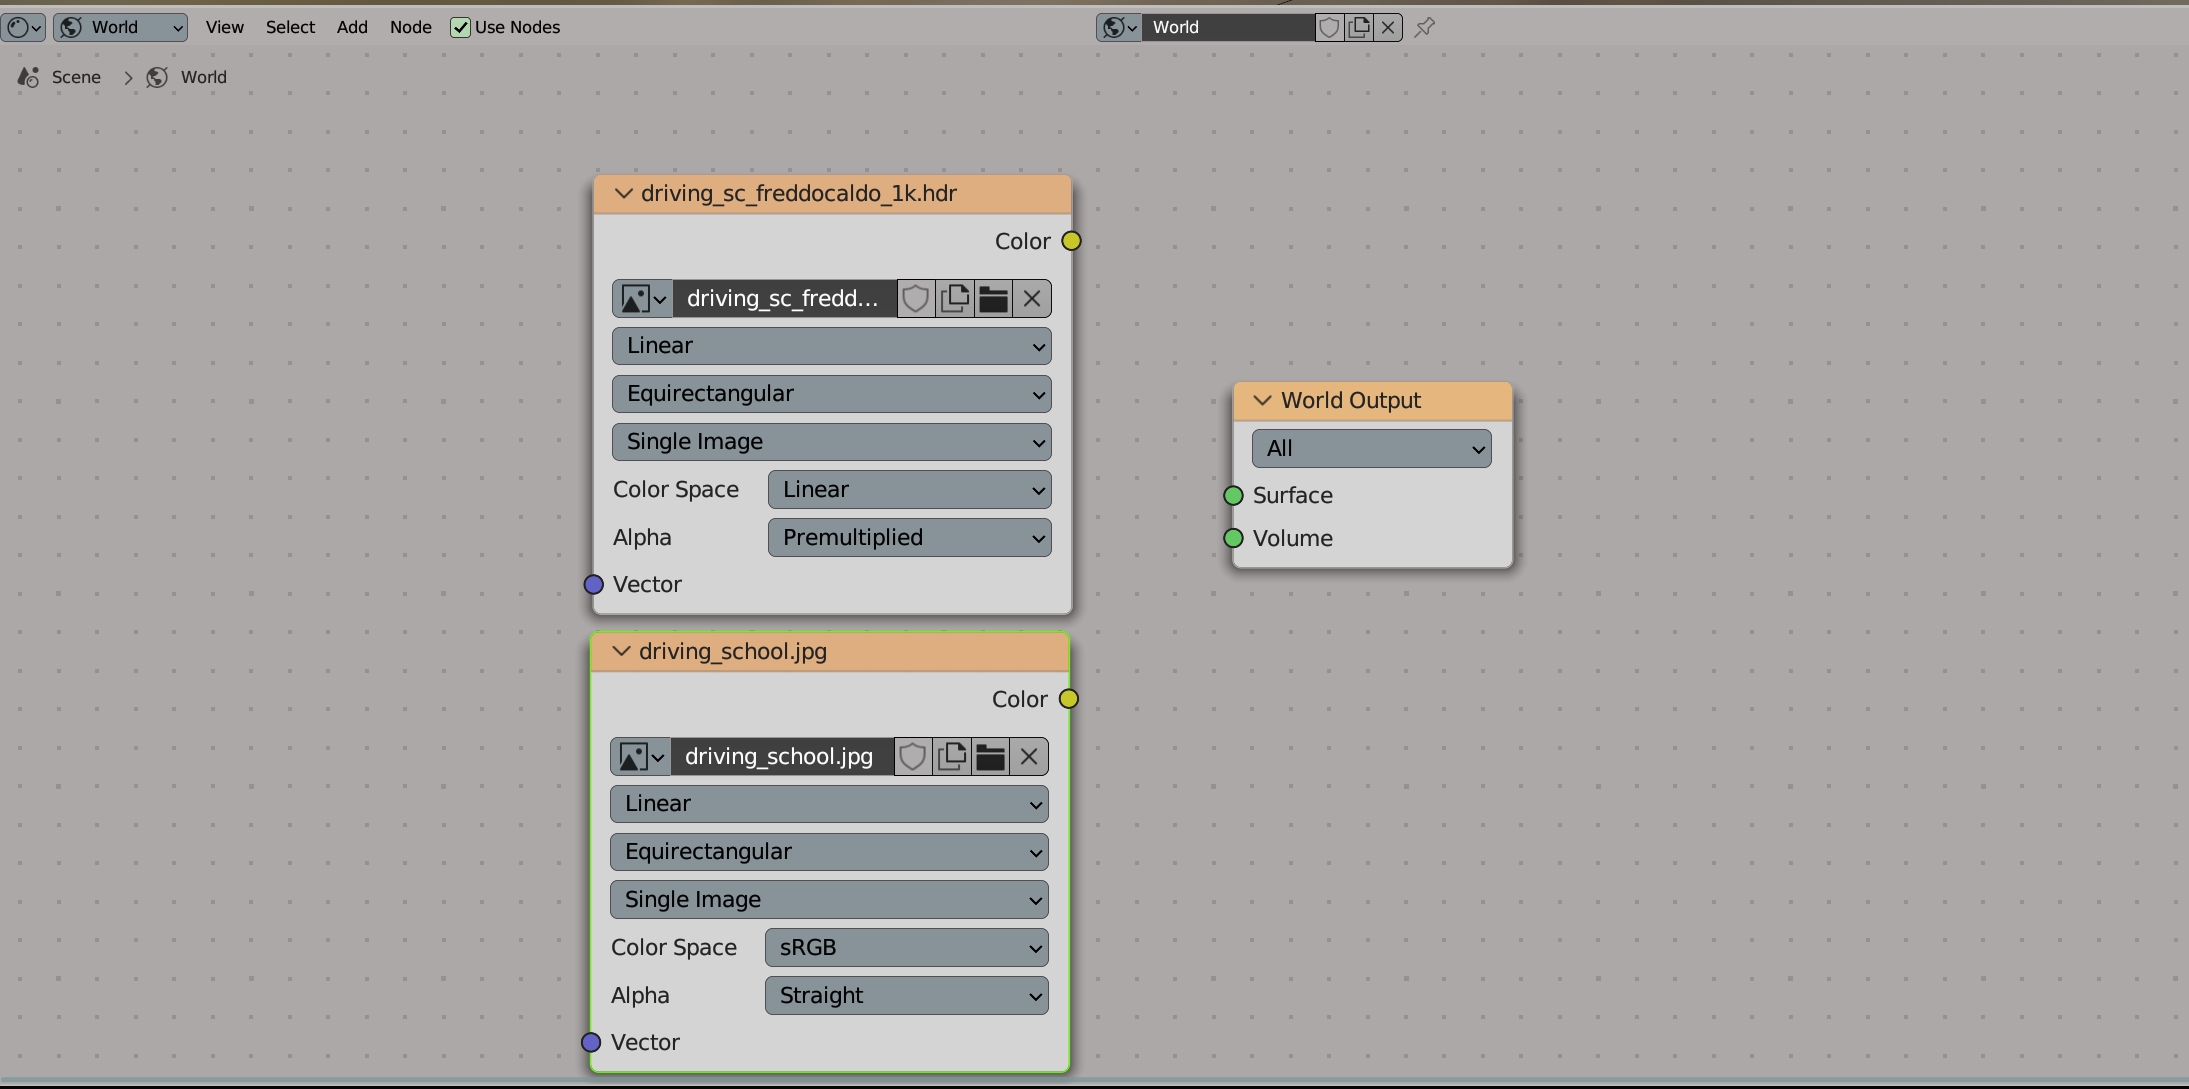
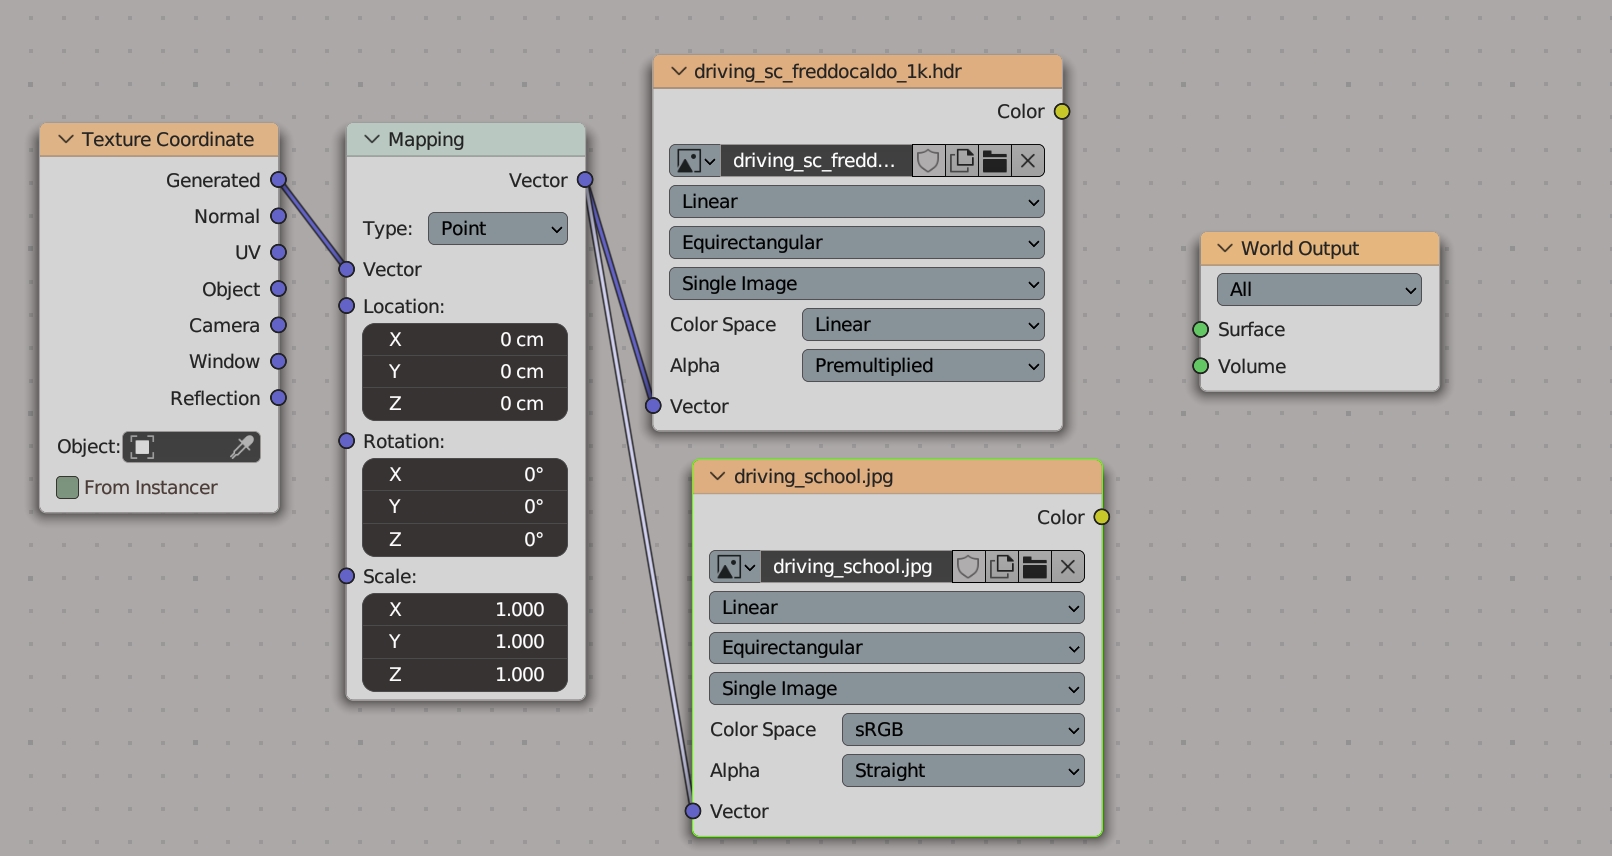
- from the Add menu, add the Environment texture, and from its menu add your hdr file
- do again the same procedure, but add the jpeg, related to the hdr file
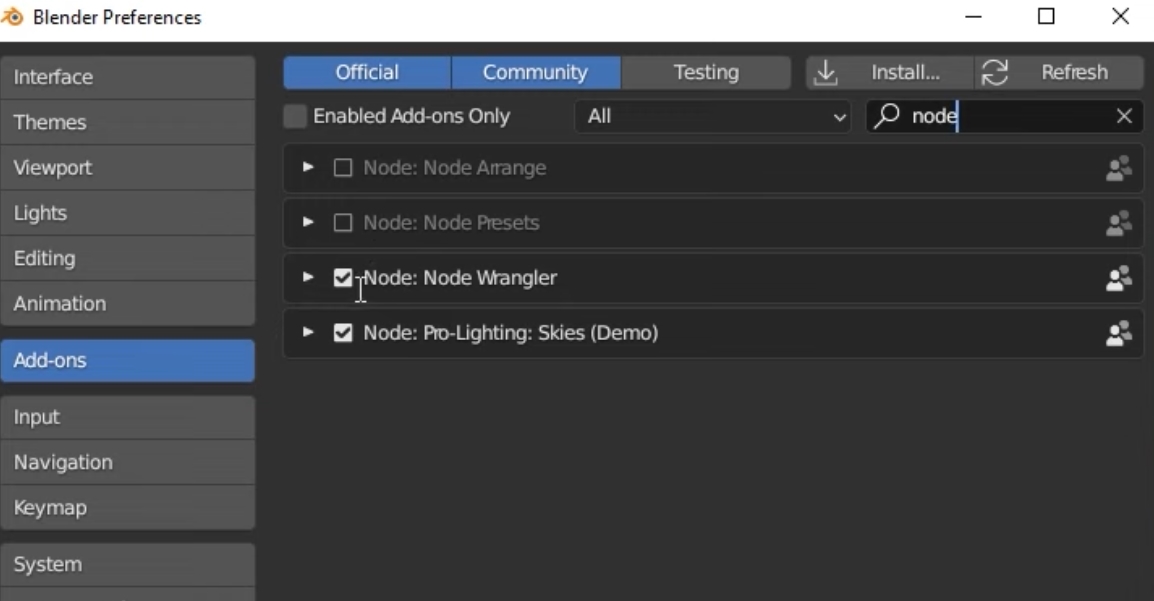
- check if your node wrangler is enabled. Go into preferences, and addons
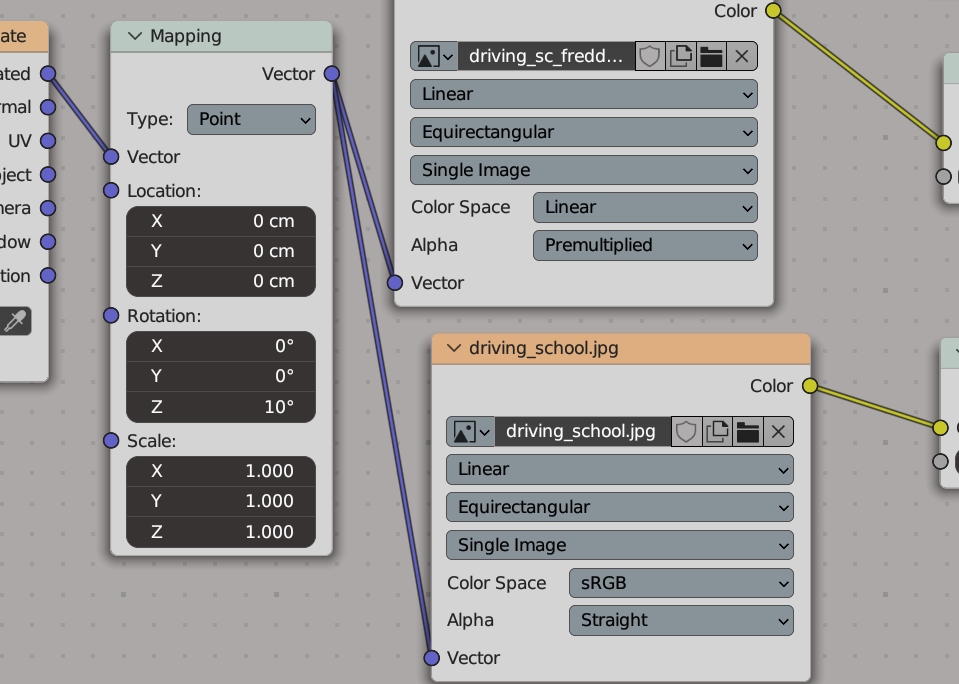
- add two new nodes, with CTRL+T: mapping; and coordinate. Connect them also with the image
- add the background node, and connect it
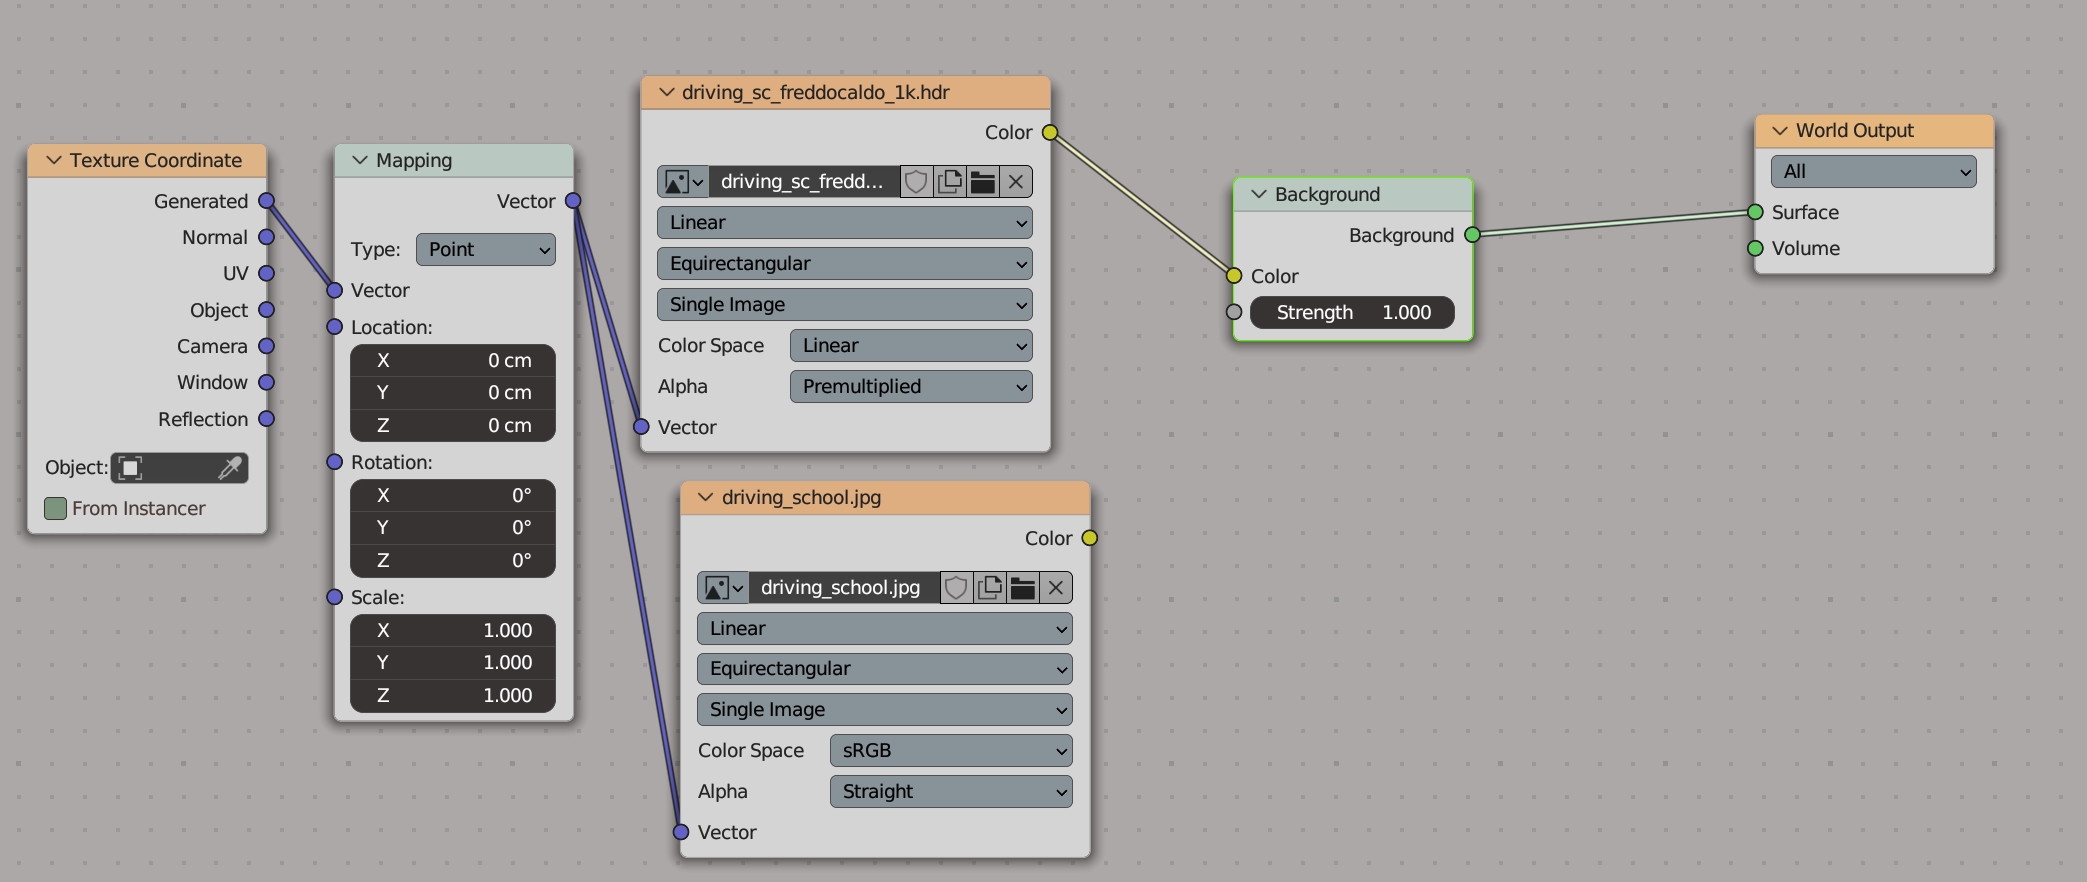
- you can adjust the strenght of the light of the HDRI by modifying that parameter into Background. Since we have the image, we won’t have overexposure. I usually use 4.
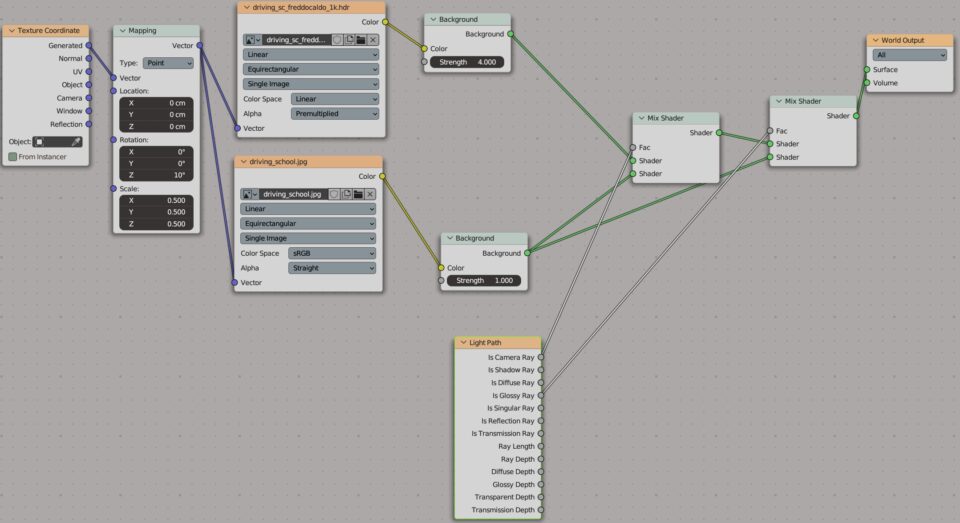
- add a background for the image also, leave strenght 1
- add two mix shader and a light path. Combine them in this way -see below
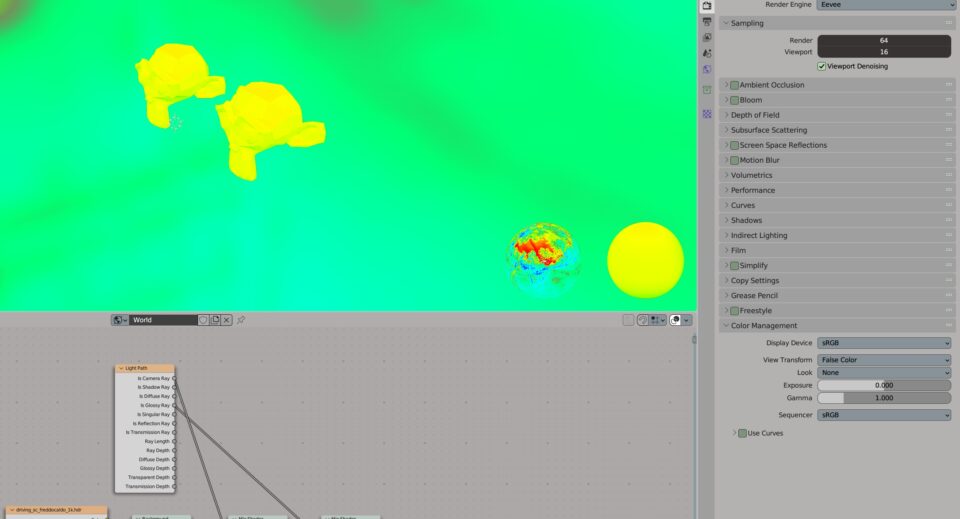
3. How to check the strength of the light of the hdr?
Do you want a more “scientific” check for the strength of the light?
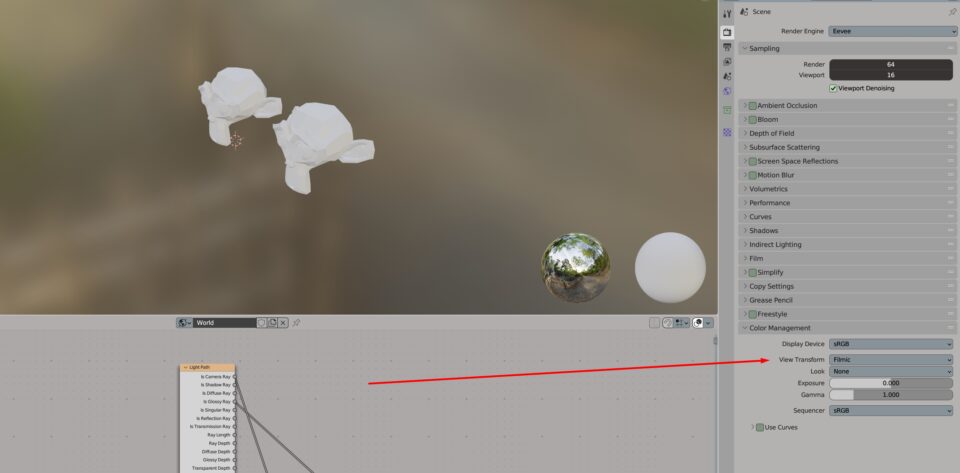
- in the right panel click Scene
- go below, where you can see Filmic
- try False Color
- if the colors are blue, there is darkness. Red is for the highest value of light. Too much red is overexposed, too much blue is darkness. So it is good to have yellow and green for the majority
4. Modify your HDR
From the mapping node, again in the shading mode, you can adjust of your hdr:
- scale
- rotation
- position (height for example)
Let me know if you know other tips!