The clown: one of the best tasks that you have to learn for the post-production.
Your life will change after it!
WHAT IS A CLOWN IMAGE?

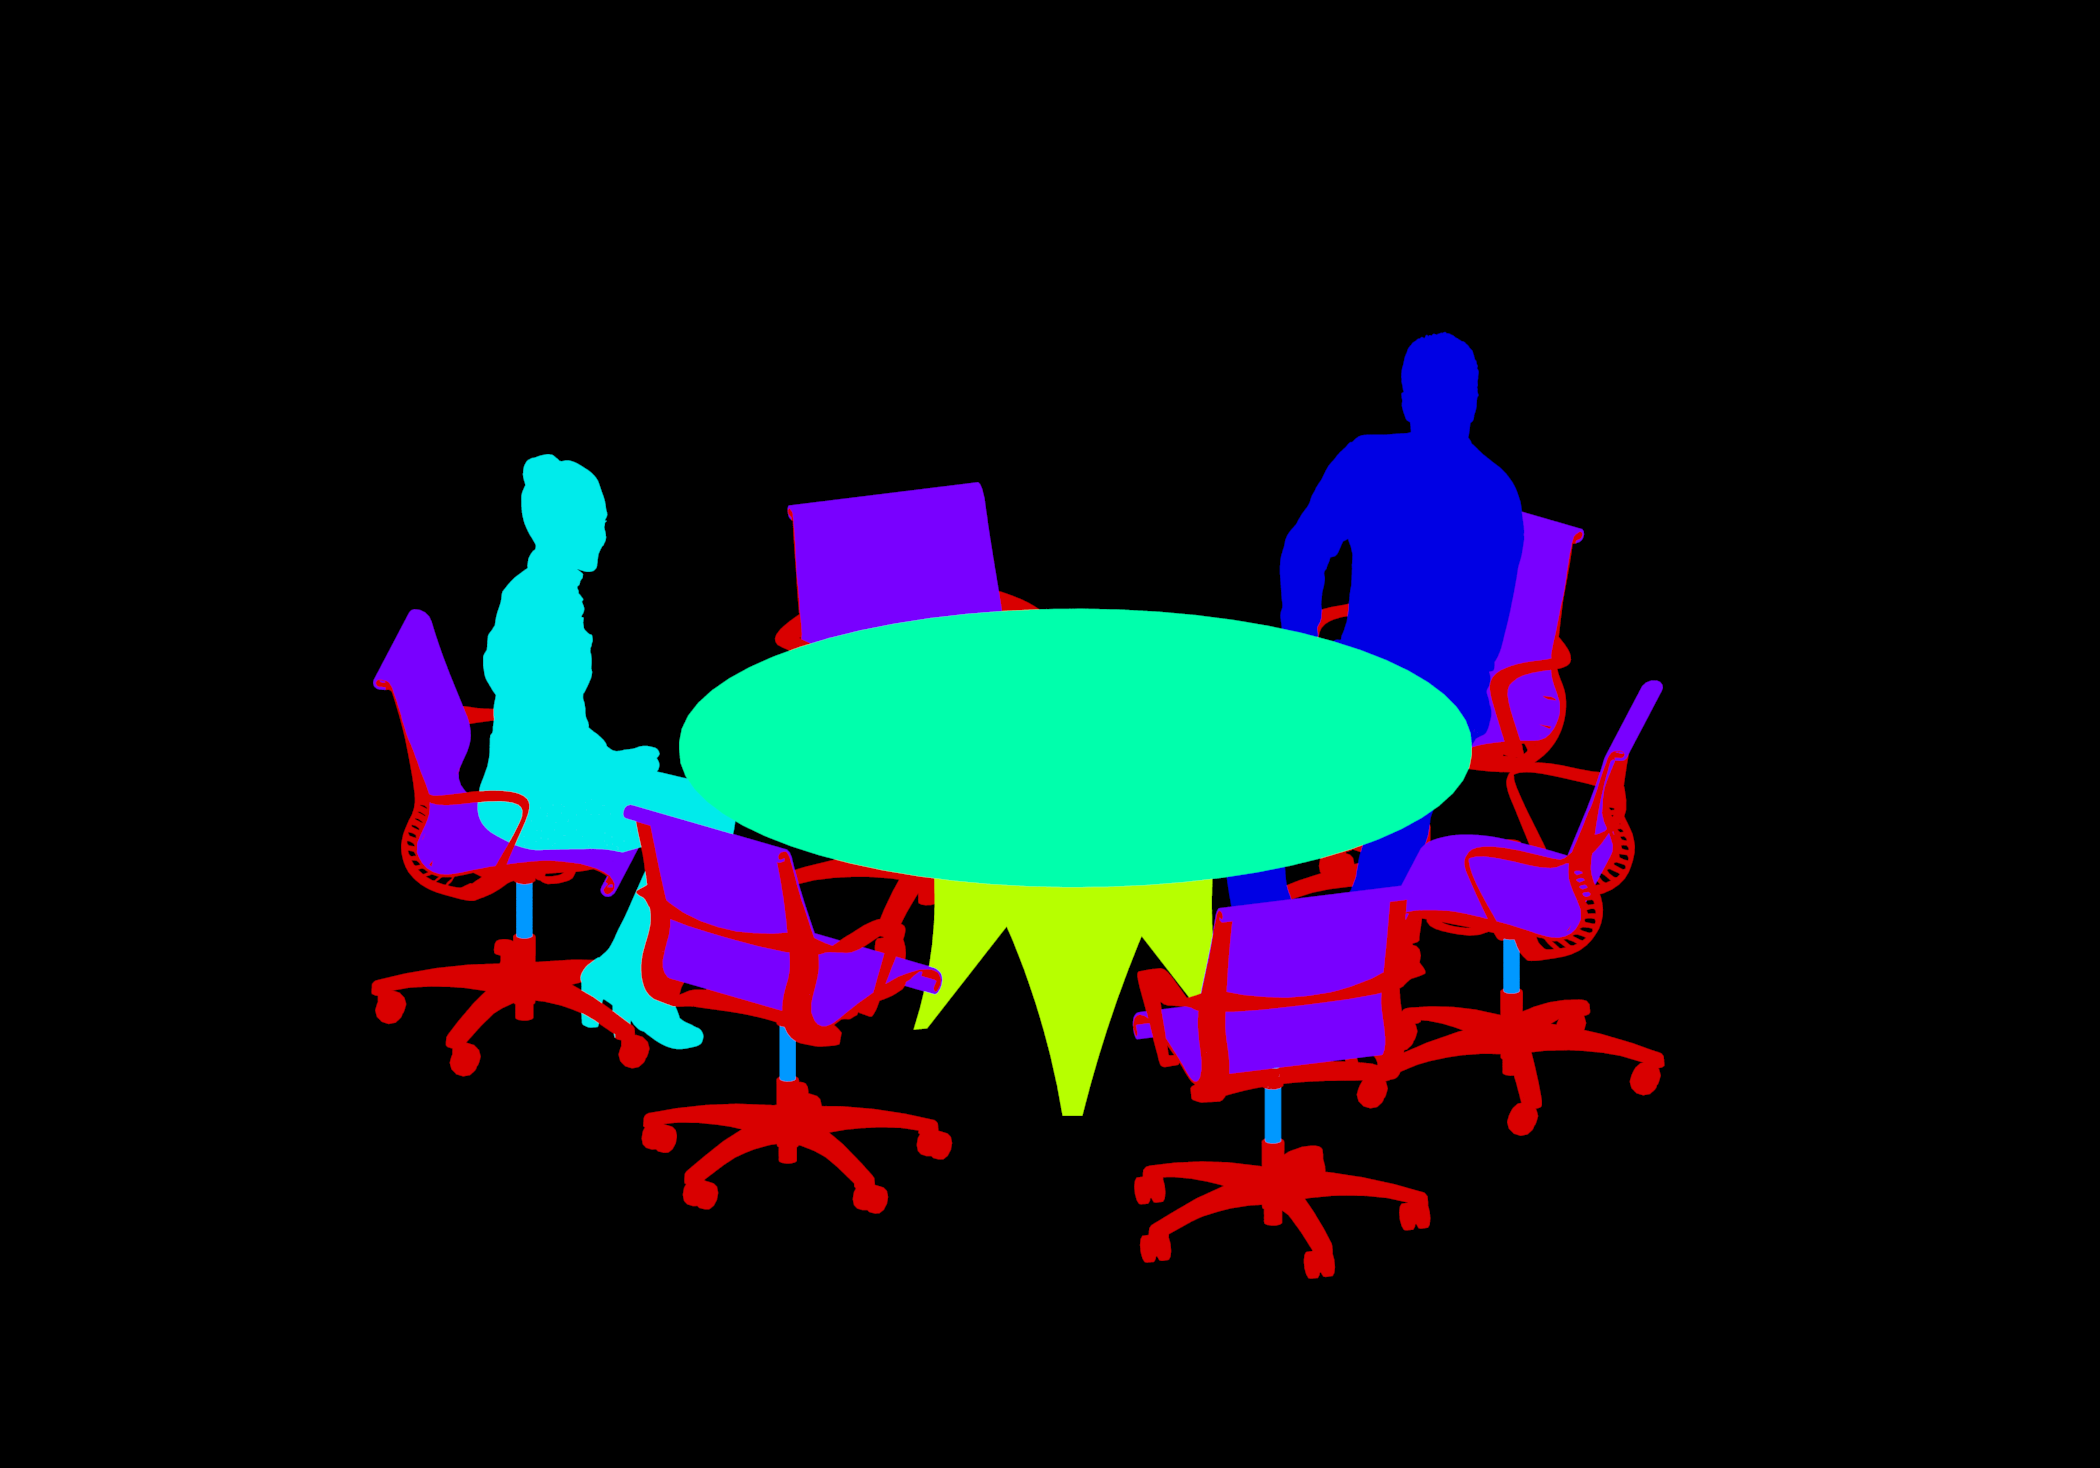
This is a clown of a rendered image:
Each color represents a material. They are represented in a flat way, without shadows, lights and so on. Why? Because you can apply your clown image as level in photoshop, gimp or other software for postproduction and then quickly select each surface with magic wand.

(click to see it larger)
In this way, you can easily and quickly modify colors, saturation, brightness etc. of a single rendered part.
VRay -> How to obtain a clown
The first steps to active the clown is to modify VRay settings. Click on image to see it larger.
1. Open Asset Editor
2. Settings page
3. Renderer label
4. click on the right arrow
5. Open Render Elements
6. Write and confirm ”Material ID” in the blank space
7. close

The second step, it is to be careful when you have to save the render.
Keep pressing on the floppy icon, and choose the second floppy “save all image channels to separate images”.

For multiple renders, with clown, you can see the guide here.
EDIT: FOR THE NEW VRAY VERSION, YOU HAVE TO CHOOSE MATERIAL ID AMONG LAYERS:

Vray -> how to change the ID COLOR
Does your clown represent too many yellows? Too similar colors?
You can change the representative color of a material with the one you prefer. How?
1. Open Asset Editor
2. Material page
3. Open the right section
4. Go down up to Options. Open it
5. You can see “ID Color”, the attributed color to your material. You can change it there.

Disclaimer: this is a fast guide, a tutorial, an how-to article that I personally wrote for you. Feel free to write here any kind of suggestion! It is helpful if you need to solve your problem, if you need a tip or if you are in trouble and you need an help!